Every year I love hosting the youth group over at our house for a Christmas Party!
I have never had them do a craft before at the Christmas Party. Usually we play a game of some sort but this year I was going to change it up a little.
So this year it was going to be a DIY Christmas Ornament Party! I had printed off pictures that the kids from the youth group sent me. Then they would take these pictures and make them into an ornament for their tree! I thought they would love seeing pictures of themselves!
So here are 7 easy steps for a DIY Christmas Ornament
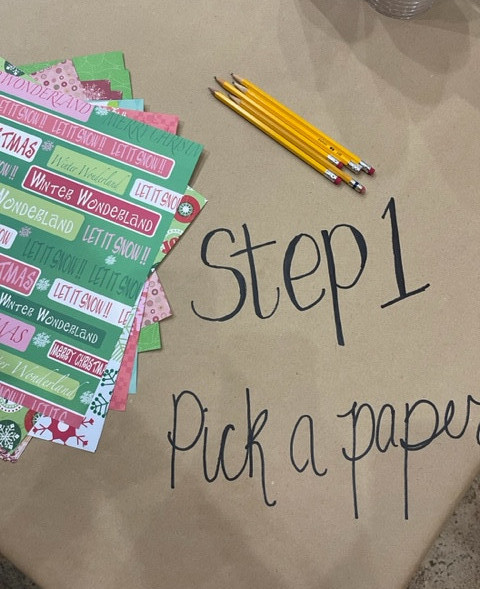
Step 1: Pick A Paper
I had several options of scrapbook Christmas paper that they could choose from. They would pick a paper and this would be the base to their ornament.
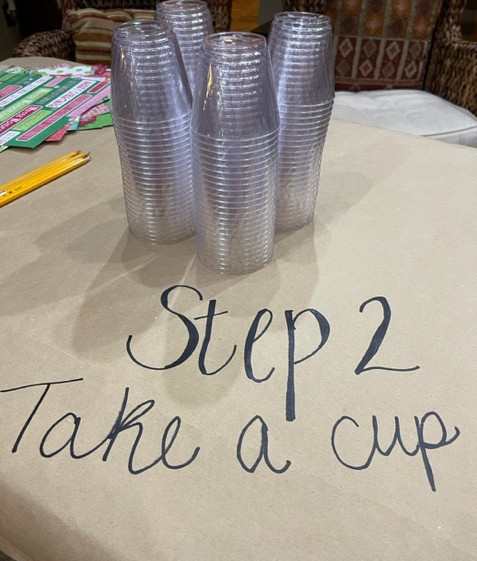
Step 2: Take a clear cup. This will be how the ornament is displayed. After you take the cup and have already done Step 1 of picking your paper. Trace the lip of the cup, the large portion at the top of the cup, trace it around onto the scrapbook paper. This paper will be the base for your ornament.
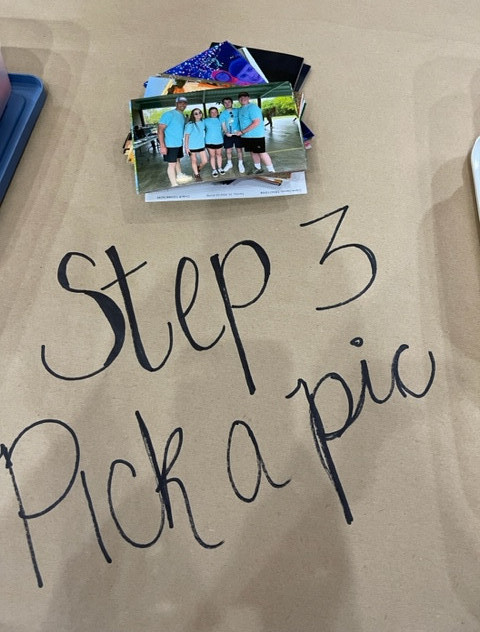
Step 3: Pick A Pic. I had asked the kids in the youth group a week or so in advance to send some of their favorite pictures to me doing youth group activities. I took those pictures and printed them off and some of them I got doubles or even 4 or 5 copies of it, if it was a group picture. They all looked through the pictures and found themselves. They would laugh and show their friends and reminisce about how much fun that activity was. They loved looking through the pictures.
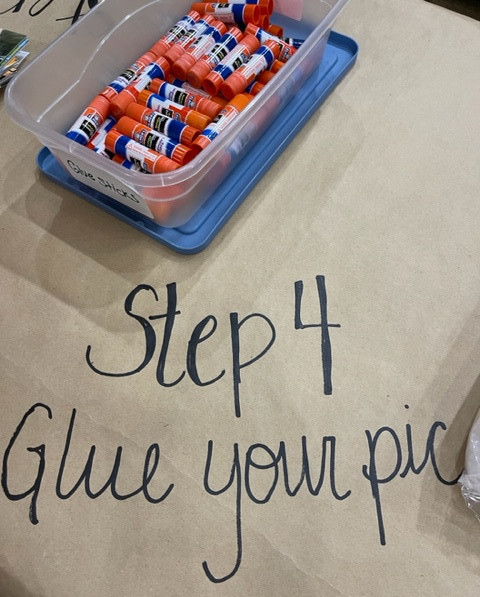
Step 4: Glue Your Pic. Most of the pictures needed to be trimmed so they would fit in the clear cup that we had to display the ornament. They left some room as they cropped the picture at the bottom so it could be folded over and then glued to the scrapbook paper in the bottom of the ornament.
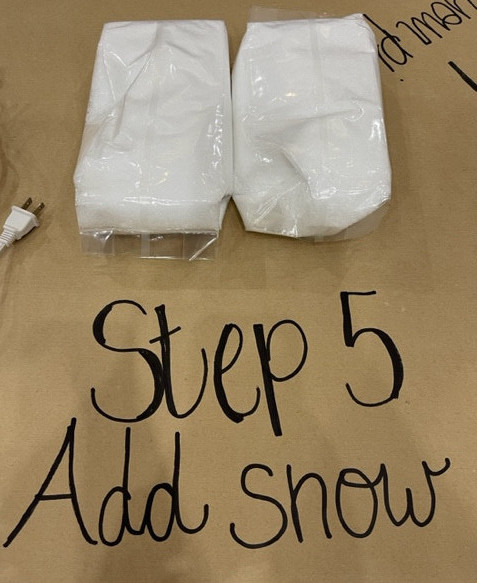
Step 5: Add Snow. You can’t have a Christmas ornament that looks like a snow globe without the snow. I just bought some fake snow (duh) and had them put about a half of a handful in the cup, before they sealed up the bottom part of the ornament.
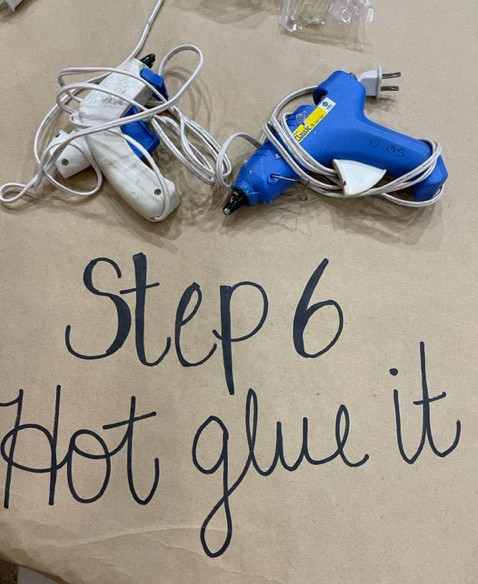
Step 6: Hot Glue It. To hold the snow and the piece of scrapbook paper that has a picture glued to it you have to hot glue the scrapbook paper that you traced the wide part of the cup to the rim of the cup. That is hard to explain, but I think you will probably get the gist of it.
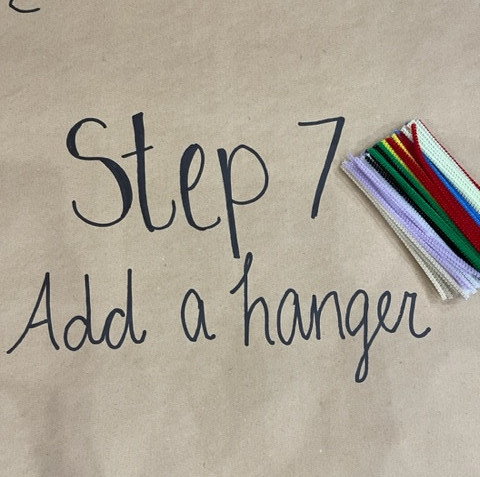
Step 7: Add A Hanger: I got these shorter pipe cleaners to use for the hangers. They chose the color they wanted, folded it in half, and then hot glued it to the top of the clear cup to make a hanger so they could hang it on their tree.
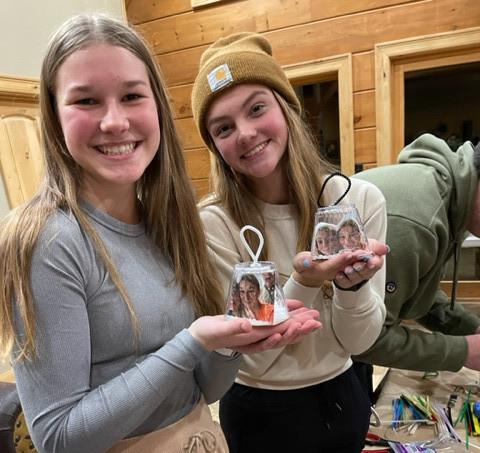
See how cute they were!
They have their pictures, the snow, and the little hanger on the top for an Easy 7 Step Christmas Ornament. The youth group loved it!
Clarie
